Setup Virtual Host in Apache of XAMPP on MAC.
Recently I have migrated from Windows to Mac. It was great learning experience of couple of concepts which are little different from widnows. I have spent little more time to setup my development environment in in my new Mac. Just wanted to share below article how to setup Virtual Host in Apache server of XAMPP stack.
What is Virtual Host?
A Virtual Hosting is a process of hosting multiple domain names in a single server. It allows to share resources with more than one domain/website. Example: site1.local, site2.local, site3.local etc… are sharing same memory, CPU & others.
So in my case, I want to configure Apache server to run more than one website in my localhost by mapping different names with one IP address. As a developer you should be required to work on different projects.
How to enable Virtual Host?
Open file name called httpd.conf in any text-editor:
/Applications/XAMPP/etc/httpd.confFind below lines in your httpd.conf file
# Virtual hosts
# Include etc/extra/httpd-vhosts.conf
Uncomment the second line by just removing hash(#) at the beginning. It should be looking like below now.
# Virtual hosts
Include etc/extra/httpd-vhosts.conf
Now you are done with enabling Virtual Host. But you should create Virtual Host to see how it works.
How to create a Virtual Host?
Just open file called httpd-vhosts.conf
/Applications/XAMPP/etc/extra/httpd-vhosts.confAt the bottom of the file you should find below lines of code. It is configured for localhost. When we try to access http://localhost it will point to htdocs directory as a Document Root is pointed to /Applications/XAMPP/xamppfiles/htdocs
# localhost
<VirtualHost *:80>
    ServerName localhost
    DocumentRoot "/Applications/XAMPP/xamppfiles/htdocs"
    <Directory "/Applications/XAMPP/xamppfiles/htdocs">
        Options Indexes FollowSymLinks Includes execCGI
        AllowOverride All
        Require all granted
    </Directory>
</VirtualHost>
If you want to use localhost then leave it. You don’t need to change anything with it. Now you just need to copy & paste the same code below and update the ServerName, DocumentRoot, Directory, ErrorLog paths. As I wanted to create 3 virtual hosts to run on my server, I have added below lines to do it.
# site1.local
<VirtualHost *:80>
    ServerName site1.local
    DocumentRoot "/Applications/XAMPP/xamppfiles/htdocs/site1"
    <Directory "/Applications/XAMPP/xamppfiles/htdocs/site1">
        Options Indexes FollowSymLinks Includes ExecCGI
        AllowOverride All
        Require all granted
    </Directory>
    ErrorLog "logs/site1.local-error_log"
</VirtualHost>

# site2.local
<VirtualHost *:80>
    ServerName site2.local
    DocumentRoot "/Applications/XAMPP/xamppfiles/htdocs/site2"
    <Directory "/Applications/XAMPP/xamppfiles/htdocs/site2">
        Options Indexes FollowSymLinks Includes ExecCGI
        AllowOverride All
        Require all granted
    </Directory>
    ErrorLog "logs/site2.local-error_log"
</VirtualHost>

# site3.local
<VirtualHost *:80>
    ServerName site3.local
    DocumentRoot "/Applications/XAMPP/xamppfiles/htdocs/site3"
    <Directory "/Applications/XAMPP/xamppfiles/htdocs/site3">
        Options Indexes FollowSymLinks Includes ExecCGI
        AllowOverride All
        Require all granted
    </Directory>
    ErrorLog "logs/site3.local-error_log"
</VirtualHost>
Great ! Now I have created 3 virtual hosts ie: site1.local, site2.local, site3.local. We have to update our hosts file with above names to access.
How to edit hosts file ?
Open hosts file with root user: sudo nano /etc/hosts
Add below lines to end of the file:
127.0.0.1       site1.local
127.0.0.1       site2.local
127.0.0.1       site3.local
Just save by it and close.
That’s it, I did all changes that are required for configuring Virtual Host. Now I should restart Apache to see all the changes.
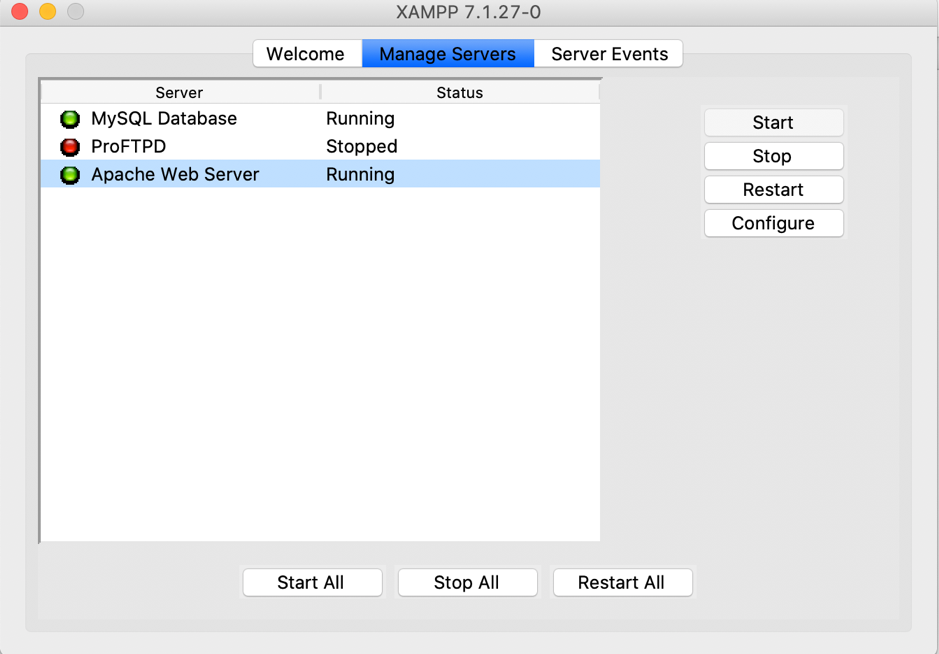
Open manager-osx(XAMPP control panel). It should be looking like below screenshot. Just click on Restart.
Open your browser and try to hit below URLs.
http://site1.local
http://site2.local
http://site3.local
You should be able to see contents of site1, site2, site3. It’s observed that above 3 websites are sharing one localhost to serve the content.
Conclusion
Setting up Virtual Host is something really interesting concept for me. As I needed to setup Virtual Hosts for my development sites to work smoothly, I have done some analysis and configured it. And good to know that how are the resources being shared in Shared Webhosting.
Hope it helps, Thank you so much for reading this!